A Complete Guide to the Amplify React Authentication Components
A few weeks ago, the team I work on, AWS Amplify, launched brand new authentication components for React, Vue, and Angular. I want to give you a quick tour of what you can do with these components from enabling backend authentication to simple frontend flows, to more complex, customized setups.
Enable Authentication
You can enable authentication via Amplify in two ways: first through Amplify Studio and secondly through the Amplify CLI. I'll show you how to do so through Studio; however, here are instructions for doing so through the command line if that better fits your workflows.
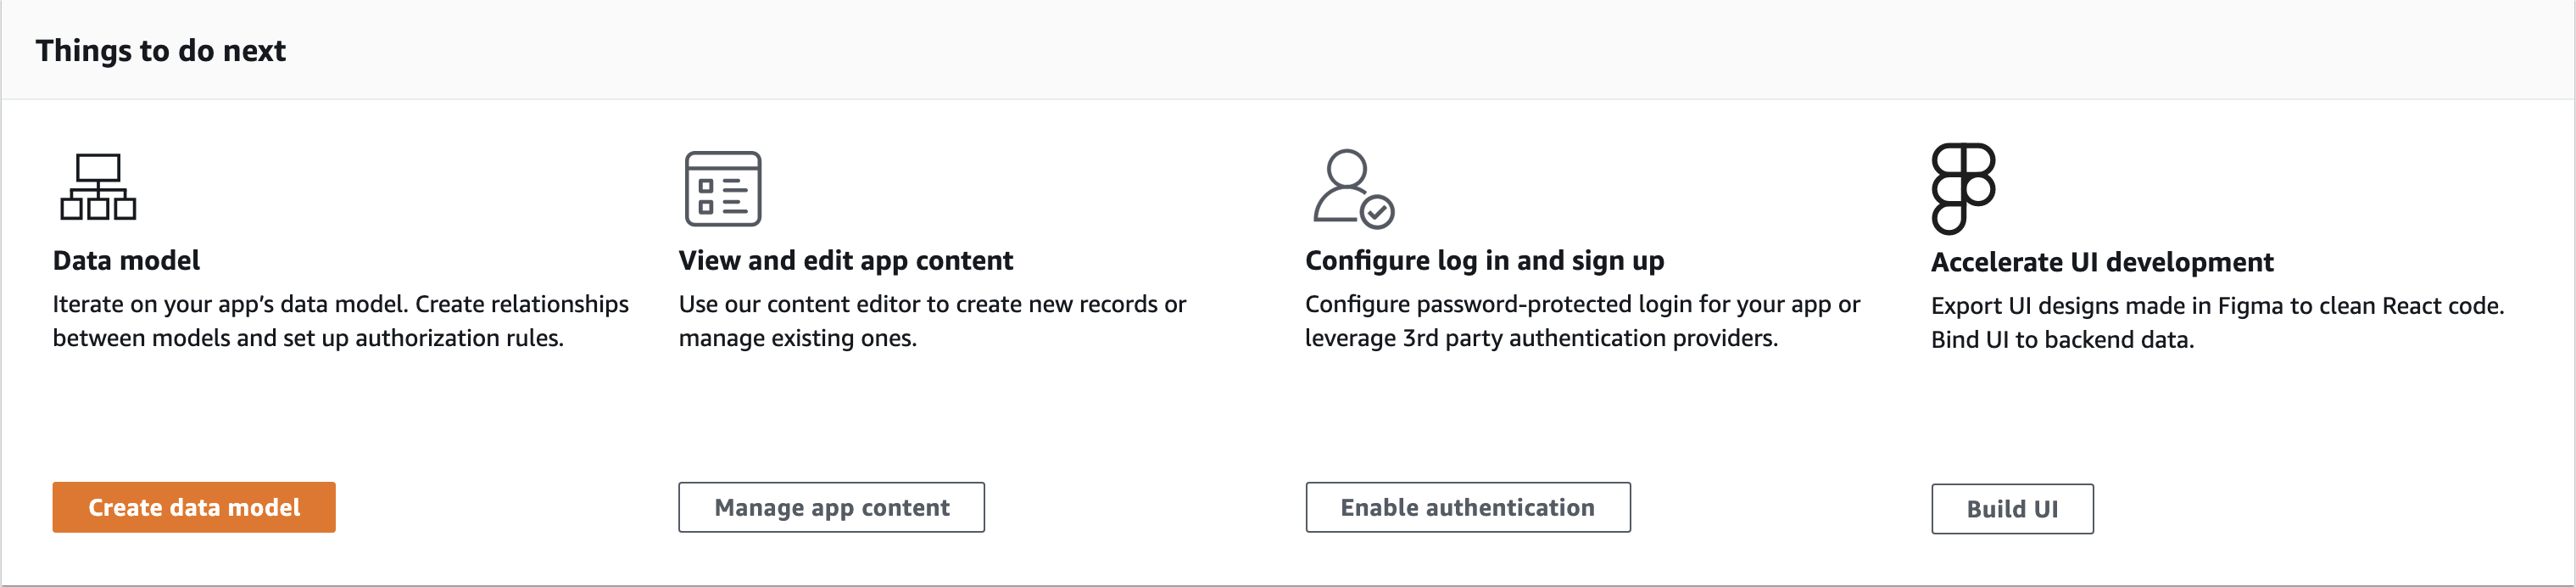
First, head to the Amplify Console. Then click "New app" and select "Build an app". Then choose a name for your project -- for example "amplify-authenticator-demo". Once your app deploys, click "Launch studio". From there, click "Enable authentication" on the Studio landing page.
Here, choose your desired authentication setup. I'll go with the defaults, but you can add multi-factor authentication, different attributes you want to get from your users, and different login mechanisms including social providers.
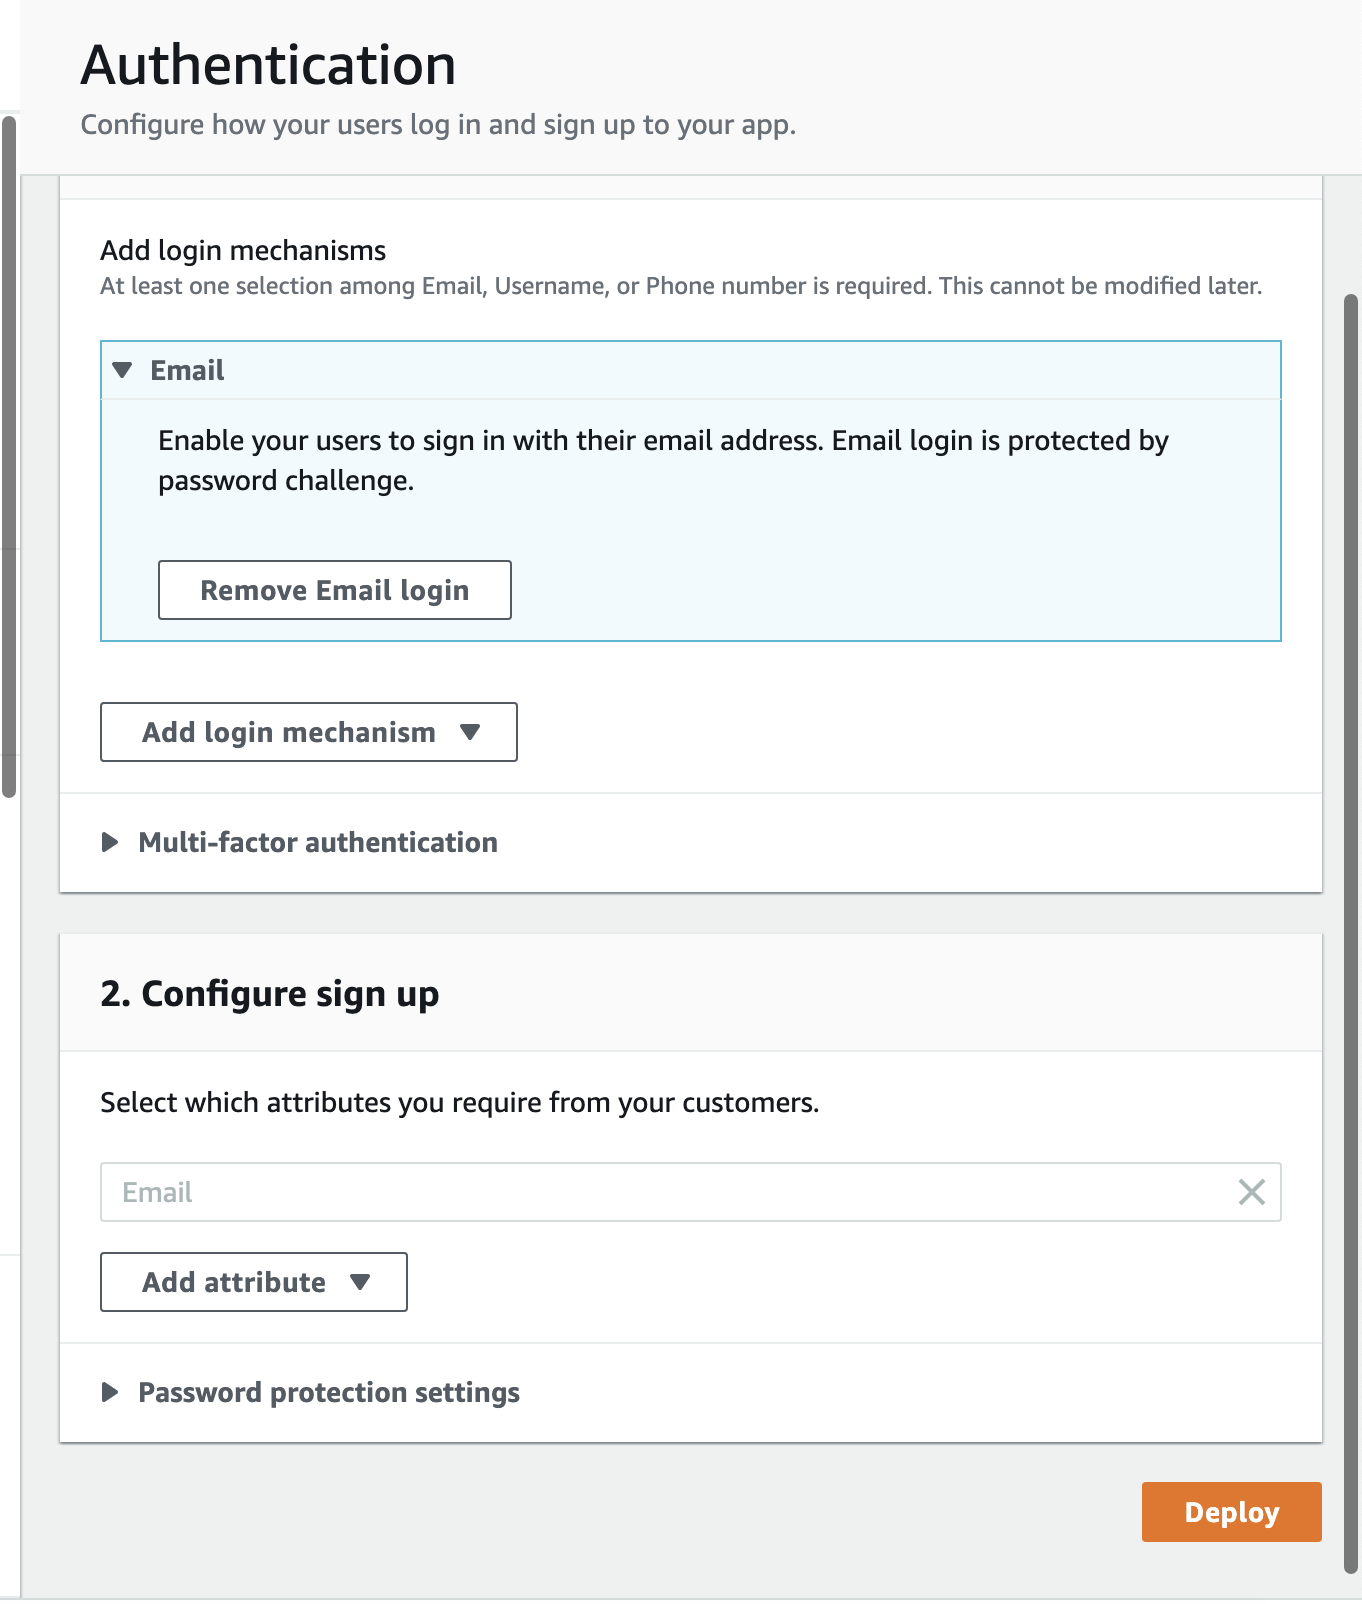
Once you have your setup, click "Deploy". Now you have backend authentication enabled for your app!
App setup
I'm going to create a React app to demonstrate the authentication components; however, it's also compatible with Vue and Angular with more frameworks on the way!
I'll create a new React app:
npx create-react-app amplify-authenticator
cd amplify-authenticator
Then, if you go back to Studio and click "Deployment successful - click for next steps" on the upper right of the page, you'll see an amplify pull command with your app id. Run that command to sync your backend with your frontend. If you get a confirmation browser window, accept and then answer the questions in your CLI. The defaults should be sufficient for almost all of the questions!
Then, install the Amplify libraries and React components:
npm i aws-amplify @aws-amplify/ui-reactOpen your app up in your text editor, and then add the following to your src/index.js file:
import Amplify from 'aws-amplify'
import config from './aws-exports'

Amplify.configure(config)
This will configure Amplify within your app! Now add in the Amplify CSS file and the AmplifyProvider component.
import '@aws-amplify/ui-react/styles.css'
import { AmplifyProvider } from '@aws-amplify/ui-react'
Then, add an instance of the AmplifyProvider as the top level of your React app.
ReactDOM.render(
  <AmplifyProvider>
    <App />
  </AmplifyProvider>,
  document.getElementById('root')
)
This will add Amplify's default styling to your app.
The withAuthenticator component
Let's add a full authentication flow to our app with the withAuthenticator higher order component. First, import it:
import { withAuthenticator } from '@aws-amplify/ui-react'Then, wrap your App export:
export default withAuthenticator(App)If you run your application server, you'll notice that you have a full authentication flow with sign in, sign up, and forgot password. Try it out!
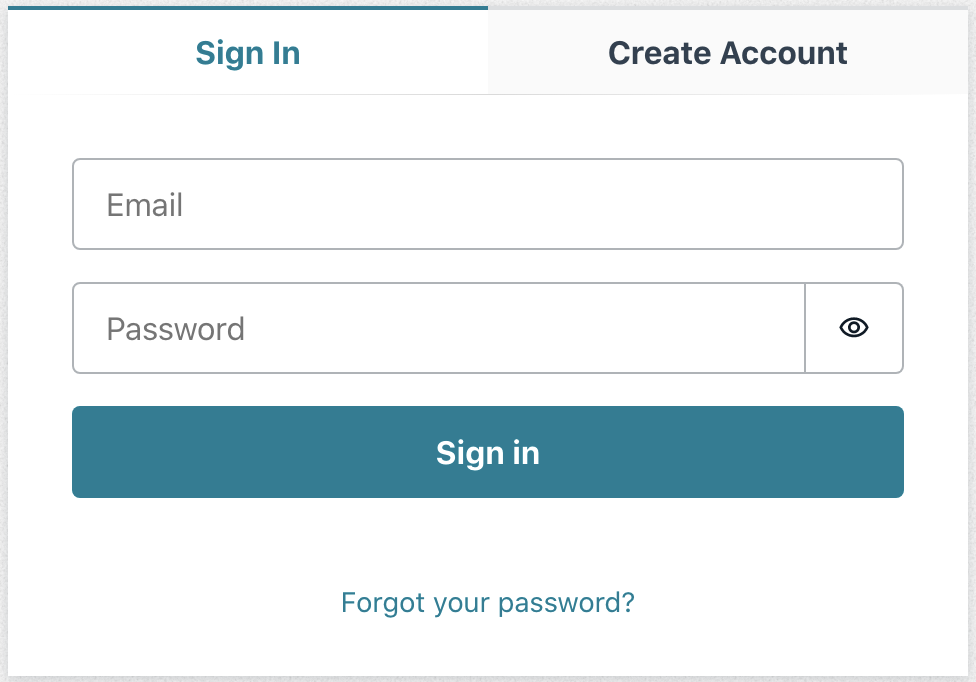
Once you have created a user and signed in successfully, then you'll see the contents of your component. In my case "Hello, world!". You could also use this flow on a different page of your application, for example a form so that anyone could visit a landing page, but only authenticated users could access that form.
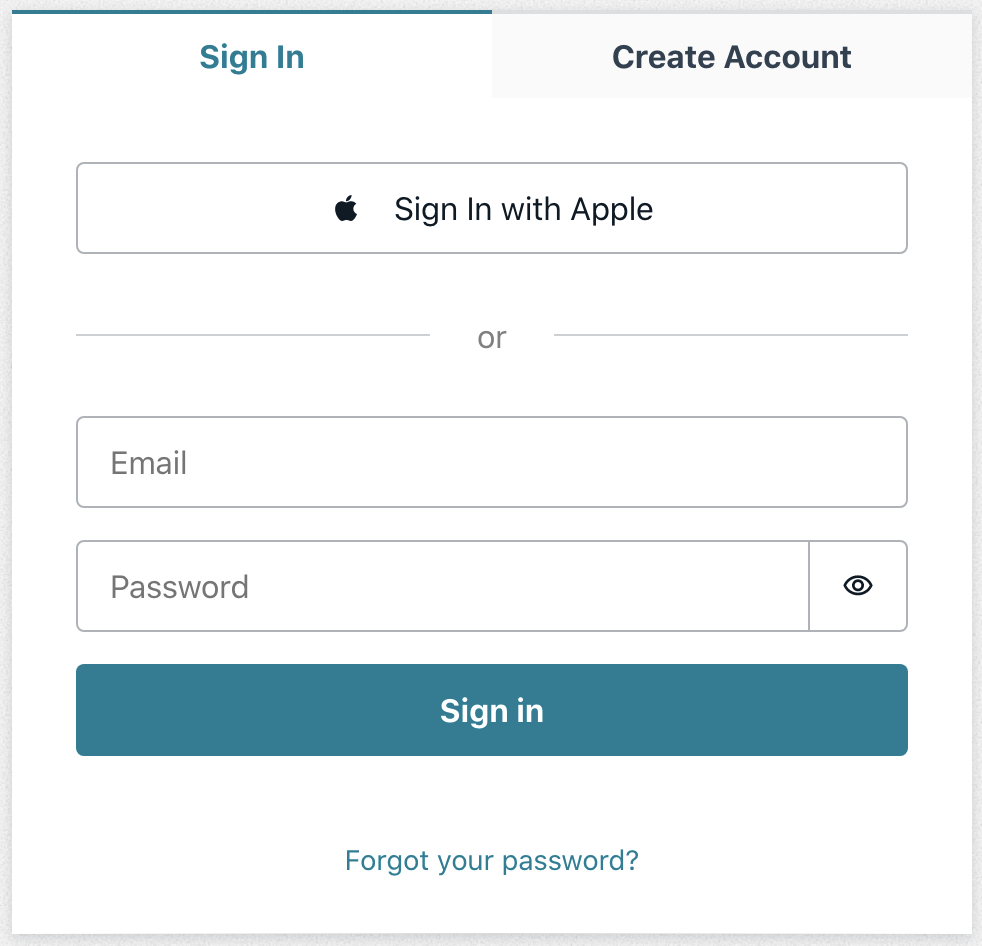
This component automatically detects your authentication setup, so if you had social providers enabled, they would show up as options on the form as well. You can, however, also pass arguments to the withAuthenticator in order to override these defaults. For example the following will display sign in with Apple even if you don't have it configured for your app.
export default withAuthenticator(App, {
  socialProviders: ['apple']
})
Add sign out and display user info
Let's add sign out to our application, and display the user on the homepage. The signOut function and the user object are passed to our component by the Authenticator component, so we can destructure them and then use them in our app! For example:
function App({ signOut, user }) {
  return (
    <div>
      <h1>Hey, {user.attributes.email}</h1>
      <button onClick={signOut}>Sign out</button>
    </div>
  )
}
Customize your flows with the Authenticator
You can further customize your flows, fields, text, and more by using the Authenticator component. You can even add internationalization so that your text displays as you want across the globe.
Here's the full documentation to learn more.
Add a Theme to your UI
You can also add a theme to your Authenticator component. You can do so via CSS variables, a JavaScript object, or design tokens. I'll create a JavaScript object:
const theme = {
  name: 'pretty-princess',
  tokens: {
    colors: {
      background: {
        primary: { value: 'hotpink' }
      }
    }
  }
}
Then, I'll pass it as a prop to the AmplifyProvider
<AmplifyProvider theme={theme}>Now, my component is hot pink!
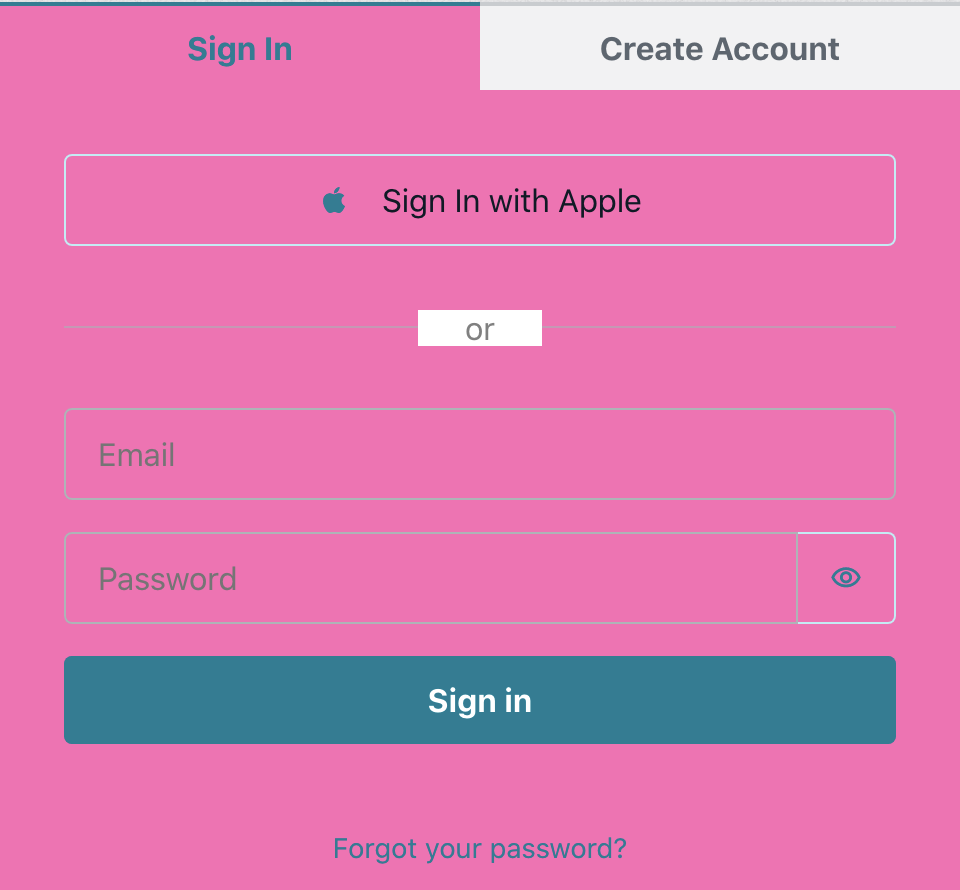
Learn more about theming in the documentation.
Conclusion
Head to the Amplify Console in order to create your own application, I'd love to see what you build. If you have any feedback, feel free to message me, join our Discord, or leave a GitHub Issue.