A Complete Beginner's Guide to Next.js
I've used Create React App non-stop to scaffold React apps, and I love it. Recently, though, I've been using Next.js for more and more of them. It has a bunch of great features like routing and server-side rendering that offer amazing experiences for both end-users and developers.
Next.js is a React metaframework, which means that it's a framework built on top of React that enforces more structure and gives you additional capabilities: like server-side rendering, routing, bundling, and more. In this post, we'll go through how to get started with Next.js, SSR vs. SSG, and routing.
If you haven't used React before, read my getting started with React tutorial and then come back here to do this tutorial! You'll need a React foundation first.
Create a Next.js App
We're going to create an app that lists colors on the home page. Each one links to a color page that displays that color's information!

First, we'll initialize a Next.js app using the CLI. This works like most app initialization scripts where it generates a bunch of starter files for you.
$ npx create-next-app color-pages
$ cd color-pages
Then, we'll start the development server -- it has hot reloading built-in and links to the docs on the generated home page.
$ npm run devNow, we can start writing code! We're going to create a static json file with the colors first. Create a directory for the colors, then add a colors file inside. Then add the colors!
mkdir data
touch data/colors.json
I used a bunch of Pantone colors of the year to create this one, feel free to copy it! If you make your own, make sure to use this structure so the rest of the code works.
// data/colors.json
[
  { "name": "Illuminating", "hex": "#F5DF4D" },
  { "name": "Classic Blue", "hex": "#0f4c81" },
  { "name": "Living Coral", "hex": "#FA7268" },
  { "name": "Ultra Violet", "hex": "#5f4b8b" },
  { "name": "Greenery", "hex": "#88b04b" },
  { "name": "Rose Quartz", "hex": "#F7CAC9" },
  { "name": "Marsala", "hex": "#B57170" },
  { "name": "Radiant Orchid", "hex": "#b067a1" }
]
Routing
Now, we'll work on the color pages. With Next.js, if you create a file within the pages folder, it makes that into a route. So, you could create about.js to get a /about page -- the exception in index.js which routes to /. You can make folders to create routes like /blog/my-post-title too. If you put the file name in [], then the name inside the brackets becomes a parameter name. We want to create routes for each color in our array above, so we will create a file called [color].js -- this will allow us to dynamically create a page for 'Classic Blue', 'Ultra Violet', etc. all at one -- no need to create a separate .js file for each one.
$ touch pages/[color].jsgetStaticPaths
Now, let's create our getStaticPaths() function. Next.js looks for this function in order to generate all the static pages for that template -- in our case our colors. We want to build a page for each of our colors following the same format but without having to hardcode each page.
First, will import our colors array. Then, inside our function, we'll loop through them and name the route params for each. In this case, our route parameter is color to match the parameter name inside of the [] in our file name. We want the color in our route to match each color name -- so /Marsala will render the page that displays Marsala!
Finally, we'll return all of our colors in the format that Next.js is looking for. We'll put them in an object with fallback set to false -- this will make it so that if you go to /hotpink (a color not in our array) you'll get a 404 page!
// [color].js
// import the colors array
import colors from '../data/colors.json'

export async function getStaticPaths() {
  // loop through the colors array
  const paths = colors.map(color => ({
    // return an object with params.color set to the color's name
    params: { color: color.name }
  }))

  // Paths will look like this:
  // [
  //   { params: { color: 'Marsala' } },
  //   { params: { color: 'Illuminating'} }
  //   ...
  // ]
  return { paths, fallback: false }
}
In most larger use cases, you may want to read files from your file system (such as markdown files for blog posts) or fetch data from an external API. You could do either task within getStaticPaths to generate paths for your app.
getStaticProps
Now, we'll define the getStaticProps function which Next.js is looking for. This function will provide props to the React component for the page. In our use case, we'll want just the information about the color on the current page. So, the page for /Marsala gets the data { "name": "Marsala", "hex": "#B57170" } -- not all the other colors!
The getStaticProps function gets the params passed to it, in our case the color name. For the page /Marsala params would look like { color: 'Marsala' } -- just like we created in the getStaticPaths function. In our case, we'll find just the color in our array whose name matches the color in the params. Then we'll return the data -- Next.js requires the return to be nested within { props }.
// [color].js
export async function getStaticProps({ params }) {
  // find the info for just one color
  const color = colors.find(color => color.name === params.color)
  // return it in the necessary format.
  return { props: { color } }
}
Within a larger app, you may pull from an API in getStaticProps in order to get the information about one item, or you may need to fetch just one markdown file to render a blog post.
Template the Page
Now we're on to the fun part! Creating the React component to template the page! The props object we created in getStaticProps will be passed to the component by Next.js -- we just need to render the data on the page! We'll use the hex code to add a background color to the page, and render the color name.
// [color.js]
export default function Color({ color }) {
  return <div className='color-page' style={{ backgroundColor: color.hex }}>
    <h1>{color.name}</h1>
  </div>
}
I replaced the CSS file with the following to make the page look a little better.
/* global.css */
html,
body, #__next, .color-page {
  padding: 0;
  margin: 0;
  height: 100%;
  width: 100%;
  top: 0px;
  position: absolute;
  display: block;
  font-family: -apple-system, BlinkMacSystemFont, Segoe UI, Roboto, Oxygen,
    Ubuntu, Cantarell, Fira Sans, Droid Sans, Helvetica Neue, sans-serif;
}

.color-page {
  display: flex;
  justify-content: center;
  align-items: center;
}
Link Component
Now, all we need to do is use the Link component to link to each color's page from the home page. We'll update index.js with the list of colors.
We'll use two Next.js specific components in this Home component -- Link and Head. <Link> allows you to do client-side route transitions, which will make page transitions smoother for users. We'll use it in place of and otherwise just like an a tag.
The <Head> component allows us to insert data into the html head tag from within the component. We'll update the page title and meta tags from there!
// index.js
import Head from 'next/head'
import Link from 'next/link'

import colors from '../data/colors.json'

export default function Home() {
  return (
    <div>
      <Head>
        <title>Colors!</title>
        <meta name="description" content="App that displays pretty colors to learn Next!" />
      </Head>
      {colors.map(color => (
        <Link href={`/${color.name}`}>
        <h2>{color.name}</h2>
        </Link>
      ))}
    </div>
  )
}
SSR vs. SSG
We just built a statically generated Next.js app -- what that means is data is only fetched at build time. If our colors were coming from an API and we had our site built and deployed, our app would not update with any API changes (say the 2022 color of the year was added). For many apps this is totally fine! A blog doesn't need to update too often with content.
SSG (static site generation) allows Next.js to generate HTML for each page when the site is being built. Those pages can then be cached by a CDN and lead to a super performant site.
That being said, sometimes you need a site that updates dynamically, and that's where server-side rendering comes in. SSR (server-side-rendering) allows you to still render HTML on the server-side but do that for each request made by a user to the page instead of at build time.
In order to use SSR instead of SSG, we would replace our getStaticProps and getStaticPaths with just getServerSideProps. Note that the below example will not work because we did not actually create an API!
export async function getServerSideProps({ params }) {
  // Make a request to get data about the color via our API
  const res = await fetch(`http://www.color-api.com/${params.color}`)
  const color = await fetch.json()
  // return the data as props that will be passed to the Color component
  return { props: { color } }
}
If you want to read more about SSR vs. SSG, I have a full blog post about the difference!
Deployment
Now that you have a Next.js app written, you need to get it live online. AWS Amplify supports deploying both SSR and SSG Next.js apps without any additional configuration on your end.
If you're creating a statically generated Next.js app, go to your package.json file and change your build script to next build && next export. If you're instead creating a server-side rendered app, you don't need to change a thing! The scripts Next.js generated for you will be what you need.
"scripts": {
  "dev": "next dev",
+  "build": "next build && next export",
  "start": "next start"
},
Then, create a repository on your git provider of choice, and push your code to it.
Create an AWS account if you don't already have one.
Navigate to the Amplify Console
Click on the orange
connect appbutton.Choose
GitHubin theFrom your existing codemenu, and click continue

- Type in the name of your GitHub repo you just created (it should autofill!) and then click
next
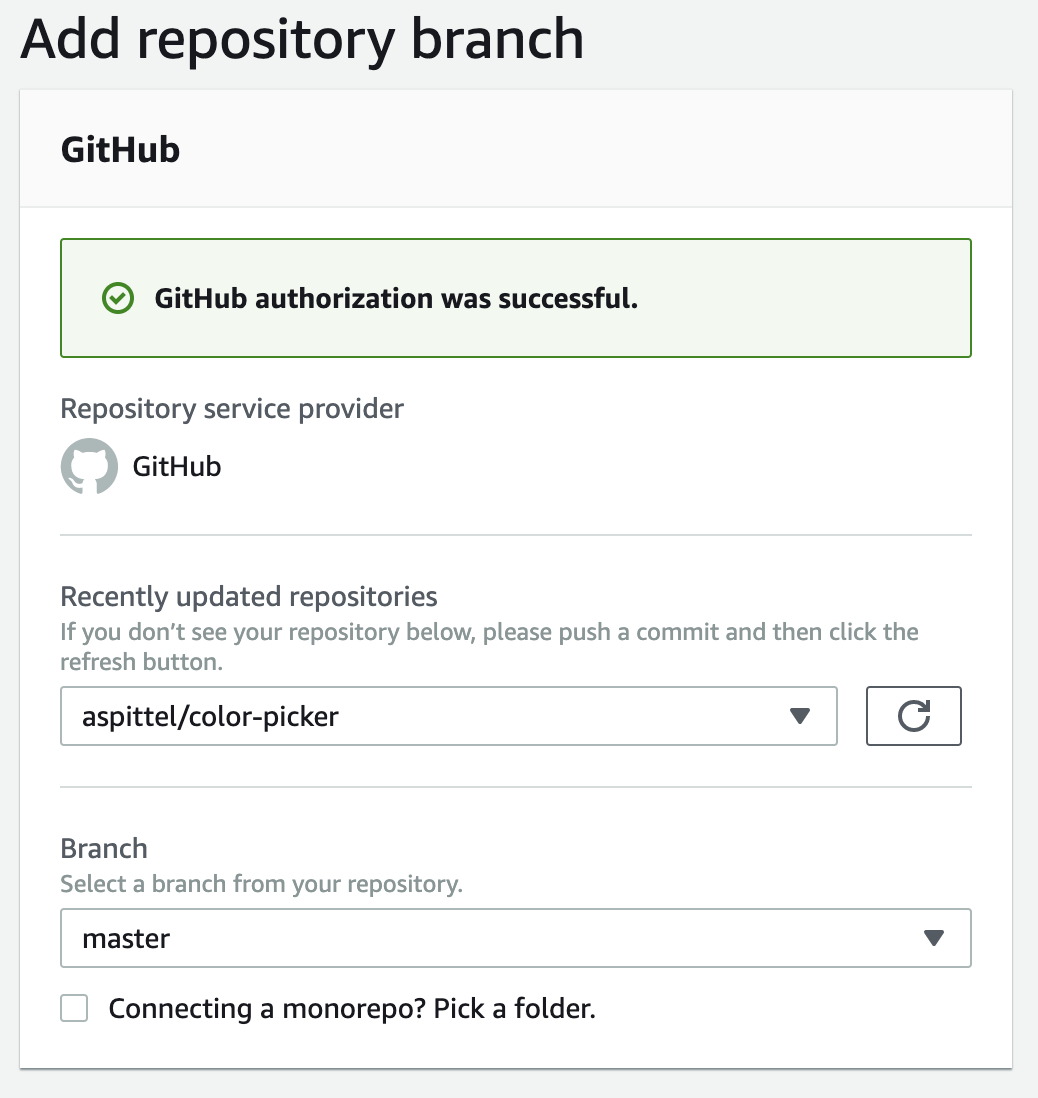
- The build settings will auto-populate, and so you can just click
nexton theConfigure build settings - Click
Save and deploy.
Conclusion
Next.js has an amazing developer experience. It has great error messages, comprehensive and understandable documentation, and is super powerful for just a little bit more work than a normal React app. I hope this tutorial was helpful!