Building a Full Stack Application with AWS Amplify: A Beginner-Friendly Guide
A few weeks ago, I joined the AWS Amplify team as a Senior Developer Advocate. I am really excited to be working on a product that makes the power of AWS much more accessible to frontend and mobile developers. I want to do a beginner-friendly introduction to building a fullstack application with AWS Amplify.
First, before you get started make sure you are familiar with HTML, CSS, Git and Github, APIs, and JavaScript without a framework (Vanilla JavaScript).
What We'll Build
In this tutorial, we're going to build a Gif display app where a user can view gifs, add new ones, edit existing ones, and delete them.

Setup
We are going to setup our files, install the necessary software, and configure babel. If you want to jump right into the code, here is a branch with these steps already done, all you'd need to do is the software installation, download the files, and then run $ npm install in the folder you downloaded.
Note: The commands that start with $ are meant to be run in the command line, but omit the $ when you copy the command!
- Follow this documentation and video for installing the Amplify CLI. Note: you will need an AWS account and to install Node!
- Install Parcel by running this command in the terminal
$ npm install -g parcel-bundler - Create the files needed for your project by running the following commands:
- Create a directory called giphlify:
$ mkdir giphlify - Change into that directory:
$ cd giphlify - Create a src directory:
$ mkdir src - Create a JS file in that directory:
$ touch src/script.js - Create a
cssfolder:$ mkdir css - Create HTML and CSS files:
$ touch index.html css/style.css - Create a Babel config file:
$ touch .babelrc
- Create a directory called giphlify:
- Initialize your project:
- Setup a npm project (the --y will accept the default configuration!):
$ npm init --y - Initialize a git project:
$ git init - Install AWS Amplify:
$ npm i aws-amplify - Install Babel:
$ npm i --save-dev babel-core - Install Parcel locally (this is for when we deploy our app):
$ npm i --save-dev parcel-bundler
- Setup a npm project (the --y will accept the default configuration!):
- Setup your Babel config:
In your
.babelrcfile, copy and paste the following
{
"presets": [
["env", {
"targets": {
"browsers": ["last 2 Chrome versions"]
}
}]
]
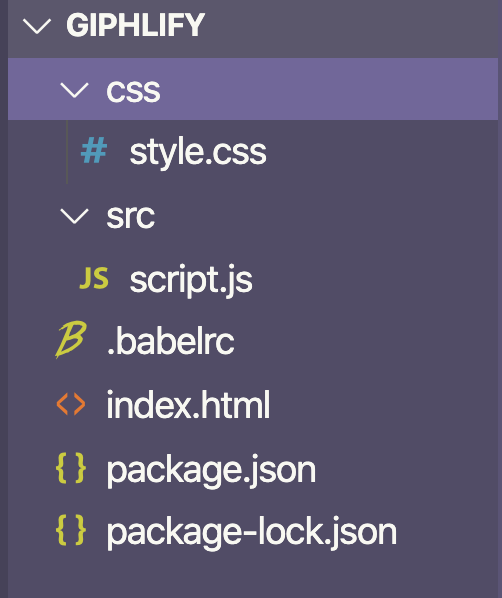
}Your file tree should look like this!
This will allow us to use all the AWS Amplify and Parcel features we need.
- In your
package.jsonfile that was created in thenpm initstep, update yourscriptsobject to contain two more items, start and build:
 "scripts": {
    "test": "echo \"Error: no test specified\" && exit 1",
+   "start": "parcel index.html",
+   "build":  "build index.html "
  },
Note: remove the plus signs from the beginning of each line if your copying and pasting 😊
😅 Okay, now your application is setup! It may feel like a lot, but we also did a lot of installation. Next time you create an AWS Amplify app, you can skip the first few steps. Also, using Parcel will be way simpler than a lot of the alternatives, and it will give us a bunch of helpful features!
⏱ Here is what your code should look like at this point!
Add an API
The next thing that we need to do is initialize AWS Amplify.
We'll first run the command $ amplify init. You will then be asked some questions about your project:
? Enter a name for the project (giphlify)press enter to accept the recommended giphliphy!? Enter a name for the environmentpress enter to accept the recommended dev since we are in development mode.? Choose your default editor:choose your text editor, mine isVisual Studio Codeso I would use my up and down arrow keys to select it and then press enter to continue.? Choose the type of app that you're buildinguse your up and down arrow keys to navigate tojavascriptand then press enter (it will probably already be selected).? What javascript framework are you usingselectnone? Source Directory Path:press enter to select the default,src? Distribution Directory Path:press enter to select the default,dist? Build Command:press enter to select the default,npm run-script build? Start Command:press enter to select the default,npm run-script start? Do you want to use an AWS profile?pressyfor yes? Please choose the profile you want to useselect your AWS profile
Now you have an AWS Amplify project 🎉
We also want to add an API to the project so that we can store our data in a database and utilize it. APIs allow us to interact with and manipulate our data. Four common actions are create, read, update, and delete, which are often referred to as the CRUD actions. We will integrate all four into our application!
You can initialize an API by running the command $ amplify add api. Similar to when we initialized AWS Amplify, it will ask a couple questions in order to build the best possible API for you! Here's how to answer them for our Giphlify app:
? Please select from one of the below mentioned services:Select GraphQL.? Provide API name:Use the default provided, giphlify.? Choose the default authorization type for the APISelect API key.? Enter a description for the API key:You can just press enter here.? After how many days from now the API key should expire (1-365):Type 365 (or shorter if you want a close expiration date)? Do you want to configure advanced settings for the GraphQL APIChoose "No, I am done."? Do you have an annotated GraphQL schema?Type "n" for No? Choose a schema template:Select "Single object with fields (e.g., “Todo” with ID, name, description)"? Do you want to edit the schema now? (y/N)typeyto open your text editor!
The last command should open up the file /amplify/backend/api/giphlify/schema.graphql in your text editor. That file should already have some code in it, the schema for a Todo if you were to build a Todo list app! We will delete the schema that's there and add a new one.
type Gif @model {
  id: ID!
  altText: String!
  url: String!
}
GraphQL is a "query language for your API." It will allow us to get exactly the data we need from our API and modify it in the ways we need. In this code snippet, we are creating a data type, a Gif. The @model tells AWS Amplify to add this data to our database. Then the three lines inside the braces are the fields we want each gif to have. The id will be added automatically and will be unique for each gif, the altText will describe the image for users with screen readers and search engines, and then the url will be a link to the image. Each field also has its data type after the :. The id is an ID type and the other two are Strings. The !'s say that the field is mandatory for each image.
Configuring and initializing our API generated a bunch of files for you, most of which we won't need to worry about -- we'll use some in the future!
Finally, we'll run the command:
$ amplify push --yThis will modify our API and deploy it! Just like that our app's backend is complete. Now it's time to talk about the frontend!
Code Setup
Open your text editor up with your project, for me that command is $ code .. We will start out with creating our index.html. Open that file up, and add boilerplate HTML code. Also, link you JavaScript and CSS files.
<!DOCTYPE html>
<html lang="en">
<head>
  <title>Document</title>
  <link rel="stylesheet" href="./css/style.css">
</head>
<body>
  <h1>Giphlify</h1>
  <script src="./src/script.js"></script>
</body>
</html>
Go ahead and run the command $ npm run start in your terminal. This will use Parcel to hot reload your code, allow you to use modules, and will run Babel. Keep this server running as we write more code, it'll keep updating it for you! If you need to exit the server, run ctrl + c to shut it down. Also, Parcel will create files in a folder called dist/ which are already in your .gitignore. These are the bundled versions of the files that Parcel has created and is actually hosting.
Navigate to localhost:1234 in your browser of choice to see your application!
Now, go to your src/script.js file. In here, we'll add:
import Amplify from '@aws-amplify/api'
import awsConfig from './aws-exports'

Amplify.configure(awsConfig)
This will use the configuration information in the src/aws-exports.js file to configure AWS Amplify for our frontend application!
Note: if you haven't seen the import syntax before, check out this resource. Parcel is also helping us here!
Also, add .cache/ to the end of your .gitignore. These are files that Parcel creates that we don't want to store in our repository.
⏱ Here is what your code should look like at this point!
Create Form
Now, the first feature we need to implement is a create form to add new gifs. Let's add some HTML first, we will make a form with two fields, one for the gif's url and one for its altText. We'll also add a submit button and labels for each form field.
<!DOCTYPE html>
<html lang="en">
<head>
  <title>Document</title>
  <link rel="stylesheet" href="./css/style.css">
</head>
<body>
  <h1>Giphlify</h1>
+  <form id="create-form">
+    <h2>Create a New Gif</h2>
+    <label for="altText">Alt Text</label>
+    <input type="text" name="altText" id="altText">
+    <label for="url">URL</label>
+    <input type="text" name="url" id="url">
+    <input type="submit" value="Create">
+  </form>
  <script src="./src/script.js"></script>
</body>
</html>
Now we'll write the JavaScript code to make our form work.
First, modify the import on line one to also import API and graphqlOperation from AWS Amplify:
import Amplify, { API, graphqlOperation } from '@aws-amplify/api'When we pushed our API to AWS Amplify, it also generated some GraphQL queries that we can use in our code. Checkout the files in /src/graphql. You'll see queries, which will allow us to select data to display on our application, mutations, which will allow us to change our data, and subscriptions, which will allow us to "listen" for changes in our application. For now, import the createGif mutation!
import Amplify, { API, graphqlOperation } from '@aws-amplify/api'
import awsConfig from './aws-exports'

+ import { createGif }  from './graphql/mutations'
Now, we'll add an event that listens for the create-form to be submitted. We will grab the user's form inputs and put them in an object. Then, we will use AWS Amplify's API features to run our createGif mutation with the data the user provided. Check out the commented code below!
// create an async function: https://developer.mozilla.org/en-US/docs/Web/JavaScript/Reference/Statements/async_function
const createNewGif = async e => {
  e.preventDefault() // don't refresh the page after form submit

  const gif = {
    // grab the value of the `altText` field
    altText: document.getElementById('altText').value,
    // grab the value of the `url` field
    url: document.getElementById('url').value
  }

  try {
    // Make the API request: provide the createGif operation, provide the user's gif data
    const newGif = await API.graphql(graphqlOperation(createGif, { input: gif }))
    // Print the data to the console once it comes back
    console.log(newGif)
    // Reset the form (make the fields blank again)
    document.getElementById('create-form').reset()
  } catch (err) {
    // If the request fails, print the error message to the console
    console.error(err)
  }
}

// run our createNewGif function when the form is submitted
document.getElementById('create-form').addEventListener('submit', createNewGif)
Try and type the following data in your form:
altText: excited black lab jumping up and down
url: https://media.giphy.com/media/eLpO6JFWmTximd6608/giphy.gif
Note: to get more gifs, you can go to Giphy and select any gif link. Make sure to grab the url with the .gif extension so our img tags will work properly. Also, any image on the internet should also work!
⏱ Here is what your code should look like at this point.
What the interface should look like:
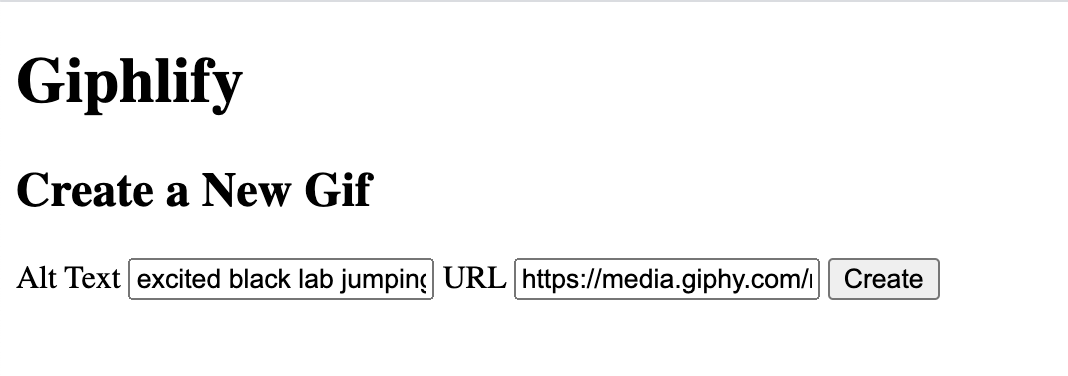
And what should appear in the console when you click create:
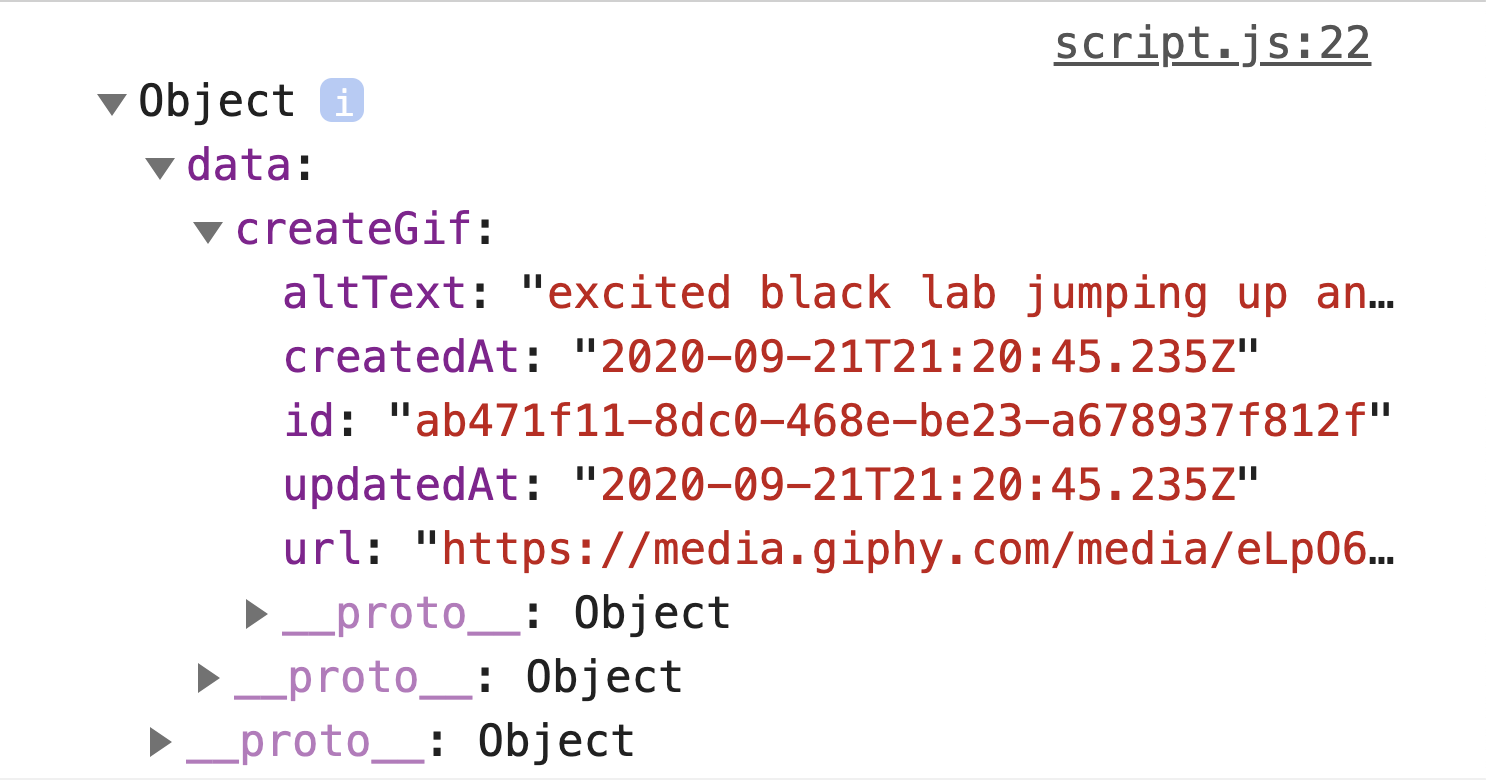
Amazing, now we can create a gif! Now let's display them all on the page!
Display all Gifs
First, let's add an HTML element that will contain all our gifs:
...
<body>
  <h1>Giphlify</h1>
+ <div class="container"></div>
  <form>
...
Let's import the GraphQL query to list all of our gifs:
import Amplify, { API, graphqlOperation } from '@aws-amplify/api'
import awsConfig from './aws-exports'

import { createGif }  from './graphql/mutations'
+ import { listGifs } from './graphql/queries'
We will also add a function that runs on page load that gets all the gifs and displays them:
const getGifs = async () => {
  // select the container element
  const container = document.querySelector('.container')
  // reset its current contents
  container.innerHTML = ''
  // make a request to get all our gifs
  const gifs = await API.graphql(graphqlOperation(listGifs))
  // loop through our gifs and
  gifs.data.listGifs.items.map(gif => {
    // create a new image element
    const img = document.createElement('img')
    // add the src attribute to the img
    img.setAttribute('src', gif.url)
    // add the alt attribute to the img
    img.setAttribute('alt', gif.altText)
    // add the image to the container
    document.querySelector('.container').appendChild(img)
  })
}

// run this function on page load
getGifs()
Let's also re-fetch all the gifs once we create a new one:
const createNewGif = async e => {
...
try {
const newGif = await API.graphql(graphqlOperation(createGif, { input: gif }))
+ getGifs()
document.getElementById('create-form').reset()
}
...
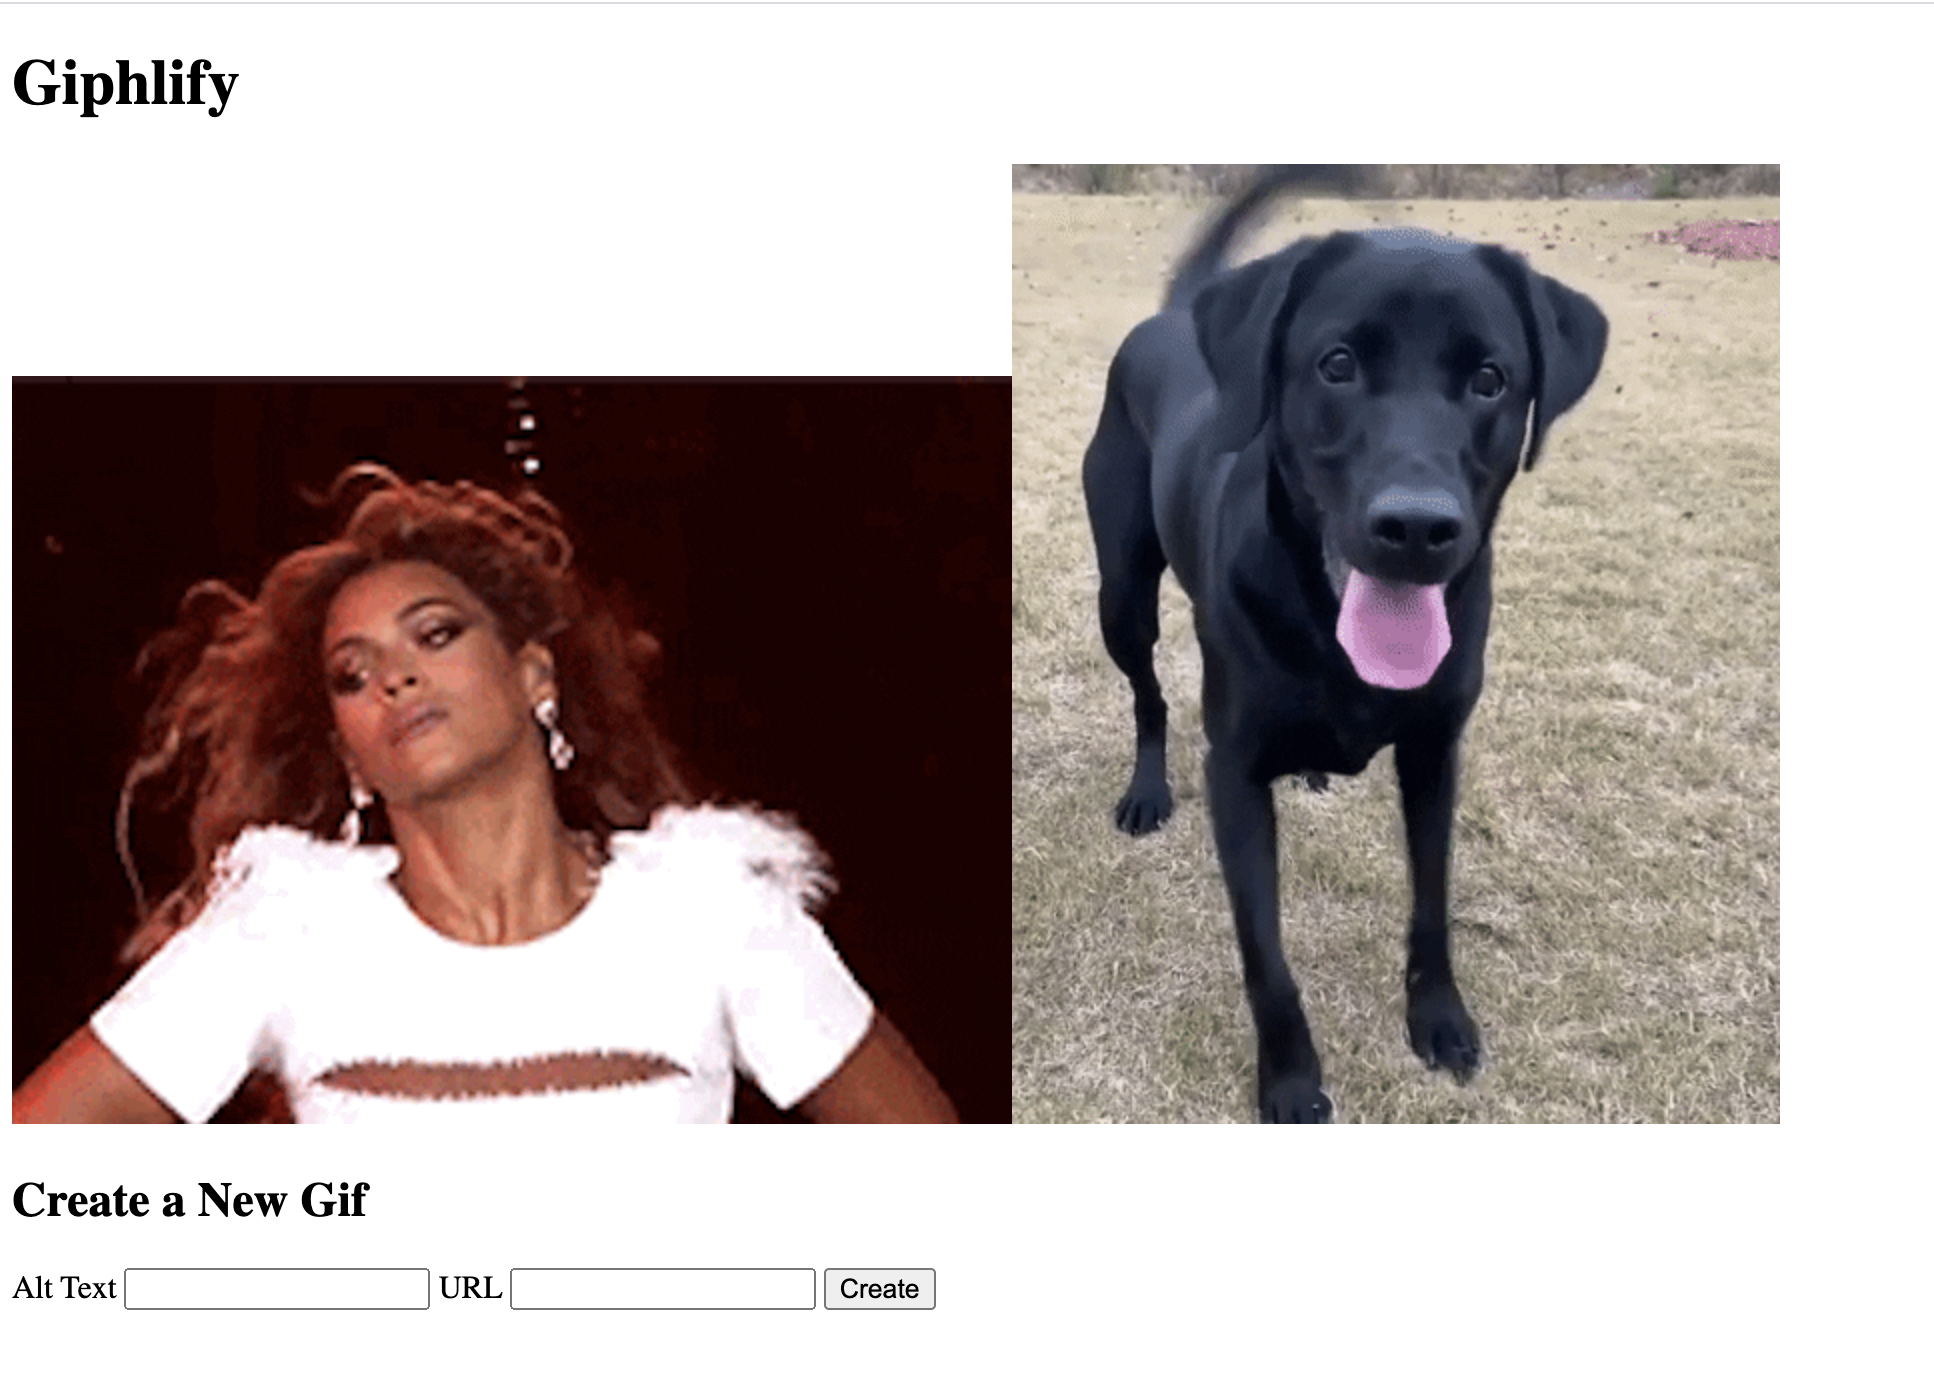
}Your app should now look like this and should update when you add a new gif!
⏱ Here is what your code should look like at this point.
Edit a Gif
Now we're done with two of the CRUD actions: create and read! Now we need to add edit and delete. I'm going to create a second form that allows me to edit a gif. When I click on any gif, it will populate the edit form with the gif that was clicked on.
Let's add an edit form after the create form:
<h2 id="edit-title">Update </h2>
<form id="edit-form">
  <label for="altText">Alt Text</label>
  <input type="text" name="altText" id="edit-altText">
  <label for="url">URL</label>
  <input type="text" name="url" id="edit-url">
  <input type="submit" value="Edit">
</form>
Let's add an event listener to each image, so that when we click on one it populates the edit form with that gif's information. We will also add a global variable that stores which gif is currently being edited.
+ let currentGifId = ''
...
const getGifs = async () => {
  ...
  gifs.data.listGifs.items.map(gif => {
    const img = document.createElement('img')
    img.setAttribute('src', gif.url)
    img.setAttribute('alt', gif.altText)
+   img.addEventListener('click', () => {
+     currentGifId = gif.id
+     document.getElementById('edit-altText').value = gif.altText
+     document.getElementById('edit-url').value = gif.url
+     document.getElementById('edit-title').innerText = `Update ${gif.altText}`
+   })
    document.querySelector('.container').appendChild(img)
  })
  ...
Let's import the updateGif mutation:
import Amplify, { API, graphqlOperation } from '@aws-amplify/api'
import awsConfig from './aws-exports'

+ import { createGif, updateGif } from './graphql/mutations'
When the user submits the edit form, we will need to run this mutation with the user submitted data:
const editGif = async e => {
  e.preventDefault()

  try {
    return await API.graphql(graphqlOperation(updateGif, {
      input: {
        id: currentGifId,
        altText: document.getElementById('edit-altText').value,
        url: document.getElementById('edit-url').value
      }
    }))
  } catch (err) {
    console.error(err)
  }
  getGifs()
}

document.getElementById('edit-form').addEventListener('submit', editGif)
Note that this time we need to include the id of the gif we want to edit so that our API edits the correct Gif!
⏱ Here is what your code should look like at this point.
Here is a gif of how this feature should work:
Delete a Gif
Finally, we need to add the ability to delete a gif. We will make one delete button that will delete the gif with the id currently stored in currentGifId, so the user will click on a gif and then click the delete button to remove it.
...
<h2 id="edit-title">Update </h2>
+ <button id="delete-button">Delete</button>
<form id="edit-form">
...
Let's import the delete mutation:
import Amplify, { API, graphqlOperation } from '@aws-amplify/api'
import awsConfig from './aws-exports'

+ import { createGif, deleteGif, updateGif } from './graphql/mutations'
Now, we'll add an event listener so that when the user clicks the delete button the gif is deleted!
const removeGif = async () => {
  await API.graphql(graphqlOperation(deleteGif, {
    input: { id: currentGifId }
  }))
  getGifs()
}

document.getElementById('delete-button').addEventListener('click', removeGif)
Now we have a fullstack CRUD app 🎉🎉🎉
⏱ Here is what your code should look like at this point.
Styling
Okay, this app is functional but not the prettiest. Feel free to style the app however you want; however, here is my app with finished styling. I also made it so that the application has modals for the forms, and I refactored the JavaScript code a little bit to be more modular and readable.
Deploy the Site
Finally, we need to add hosting to deploy our frontend.
First, we need to push this tutorial code to GitHub by:
- creating a new repository by clicking the plus button on the top right of the page.
- choose a repository name and click
create repository - Then, copy the commands from
…or push an existing repository from the command lineand run them in your terminal. - Run
git add . && git commit -m "tutorial complete" && git pushin your terminal to send your latest changes.
Then, you can run the command: $ amplify add hosting. Select Continuous deployment (Git-based deployments) for the first question and then head to the Amplify Console when it pops up.
- Choose GitHub in the From your existing code menu, and click continue
- Type in the name of your GitHub repo you just created (it should autofill!) and then click next.
- The build settings will auto-populate, though you need to click
editand change thebaseDirectoryunderartifactstodist:
...
artifacts:
baseDirectory: dist- Click
save and deploy
It may take a few minutes, but then you'll have your application up and ready for anyone to visit.
For the first 12 months of your AWS account existing, Amplify and Appsync, which we're using for the api, has a free tier that will most likely cover your hosting. After that, here is more information about API hosting and here is more information about static site hosting!
Conclusion
In this tutorial, we built a fullstack CRUD app with JavaScript, HTML, CSS, and AWS Amplify. We were able to use AWS Amplify's generated GraphQL queries and mutations to interact with our data. We also deployed the frontend to AWS Amplify Hosting. A few next steps could be to add user authentication or allow users to upload their images instead of just posting links. If you have any questions about this tutorial, please tweet me!