Build a Music Sharing App with Amazon S3 and AWS Amplify
Amazon S3 was the first AWS service I ever used, which I would guess is a pretty common occurrence -- it's pretty simple and allows you to store files such as images or videos on your site.
S3 stands for Simple Storage Service. It's used for Object storage. This means you can store flat files -- videos, images, and text files that don't change often.
In S3, Data is organized in buckets, which are like folders. Objects inside those buckets have keys, file names, and values, bytes with data.
We're going to go ahead and build a music sharing app where users can upload .mp3 files and then other users can listen to them!
Security
Before we start, it's important to discuss security on an app like this. Amazon S3 has a free tier for the first year of your account; however, if you allow anyone to upload to your S3 bucket, a bad actor could upload a bunch of files to your account leading to fees on your end.
Therefore, it's best practice to follow the least privilege principle and limit uploads to only those who need access.
For this quick demo, my app will allow anyone to upload and download files so that we don't need to cover authentication. In a production application, think carefully about who needs to be able to upload files and only give them access.
Setup
We'll first initialize AWS Amplify, which is a suite of tools that aid front-end and mobile development on AWS.
First, install and configure the Amplify CLI.
Then, create a project or move into one you've already created. I'm going to be starting out with a HTML/CSS/Vanilla JavaScript project with Parcel for bundling. You can follow the "Setup" instructions on this tutorial or download this code and run npm install to get my setup if you want!
Then, we can run $ amplify init to initialize an AWS Amplify project. You will then be prompted to answer some questions -- you may need to tweak the answers a little bit for your setup if you're using a different text editor, but here are the settings I chose! Many of these are the defaults.
? Enter a name for the project: tunelify
? Enter a name for the environment: dev
? Choose your default editor: Visual Studio Code
? Choose the type of app that you're building: javascript
? What javascript framework are you using: none
? Source Directory Path:  src
? Distribution Directory Path: dist
? Build Command:  npm run-script build
? Start Command: npm run-script start
? Do you want to use an AWS profile: Yes
? Please choose the profile you want to use: aspittel
Then, we will use AWS Amplify to add authentication to our app, we won't actually use it for this project but under the hood it will be used for our S3 permissions.
$ amplify add auth
Do you want to use the default authentication and security configuration: Default configuration
How do you want users to be able to sign in: Username
Do you want to configure advanced settings: No, I am done.
Only one more configuration step, I promise! This time, we'll add S3 storage. For this demo, anyone can create and read data. In production you would most likely want to limit who can upload files!
$ amplify add storage
? Please select from one of the below mentioned services: Content (Images, audio, video, etc.)
? Please provide a friendly name for your resource that will be used to label this category in the project: tunelify
? Please provide bucket name: tunes
? Who should have access: Auth and guest users
? What kind of access do you want for Authenticated users: create/update, read
? What kind of access do you want for Guest users: create/update, read
? Do you want to add a Lambda Trigger for your S3 Bucket: No
Now, run $ amplify push to deploy your changes!
The Code
Now that we've done all the configuration for our app, we only need a little bit of our own code to create an image upload form and to display our tunes.
Let's install the AWS Amplify library:
$ npm i aws-amplify
Now, we'll configure Amplify on our frontend. In your script.js add:
import Amplify, { Storage } from 'aws-amplify'
import awsconfig from './aws-exports'

Amplify.configure(awsconfig)
In your HTML, add the following form:
<form id="upload-form">
  <input type="file" name="filename" id="file-upload" accept=".mp3">
  <input type="submit" value="Upload">
</form>
This will allow the user to upload a file, only allowing those with a .mp3 extension.
Then, in your JavaScript add:
// select the upload form we created, and listen for a submit event on it
document.getElementById('upload-form').addEventListener('submit', e => {
  // don't refresh the page on submit
  e.preventDefault()
  // get the file from the file upload element, this will be an array.
  // we only want the first element
  const file = document.getElementById('file-upload').files[0]
  // put our file in storage, use the file's name as its S3 Key
  Storage.put(file.name, file)
    .then(item => {
      console.log(item)
    })
    .catch(err => console.error(err))
})
🎉 Just like that we've uploaded our file to S3!
Now, let's list all the files that are in our bucket:
Storage.list('')
  .then(result => {
    result.forEach(item => console.log(item))
  })
  .catch(err => console.error(err))
You could change the argument to .list() in order to only get files with a certain prefix.
Let's make it so that we can play our audio files on the page! Change the console.log(item) in the two above snippets of code to createAudioPlayer(item) and add the following code to add an audio element to the page:
const createAudioPlayer = track => {
  // Get the track from S3
  Storage.get(track.key).then(result => {
    // create an audio element and add a source element to it
    const audio = document.createElement('audio')
    const source = document.createElement('source')
    audio.appendChild(source)
    // add controls to the audio element
    audio.setAttribute('controls', '')
    // add the track source and type
    source.setAttribute('src', result)
    source.setAttribute('type', 'audio/mpeg')
    // add the item to the page
    document.querySelector('.tracks').appendChild(audio)
  })
}
I also ended up adding some styling to my app to make the end product look like this:
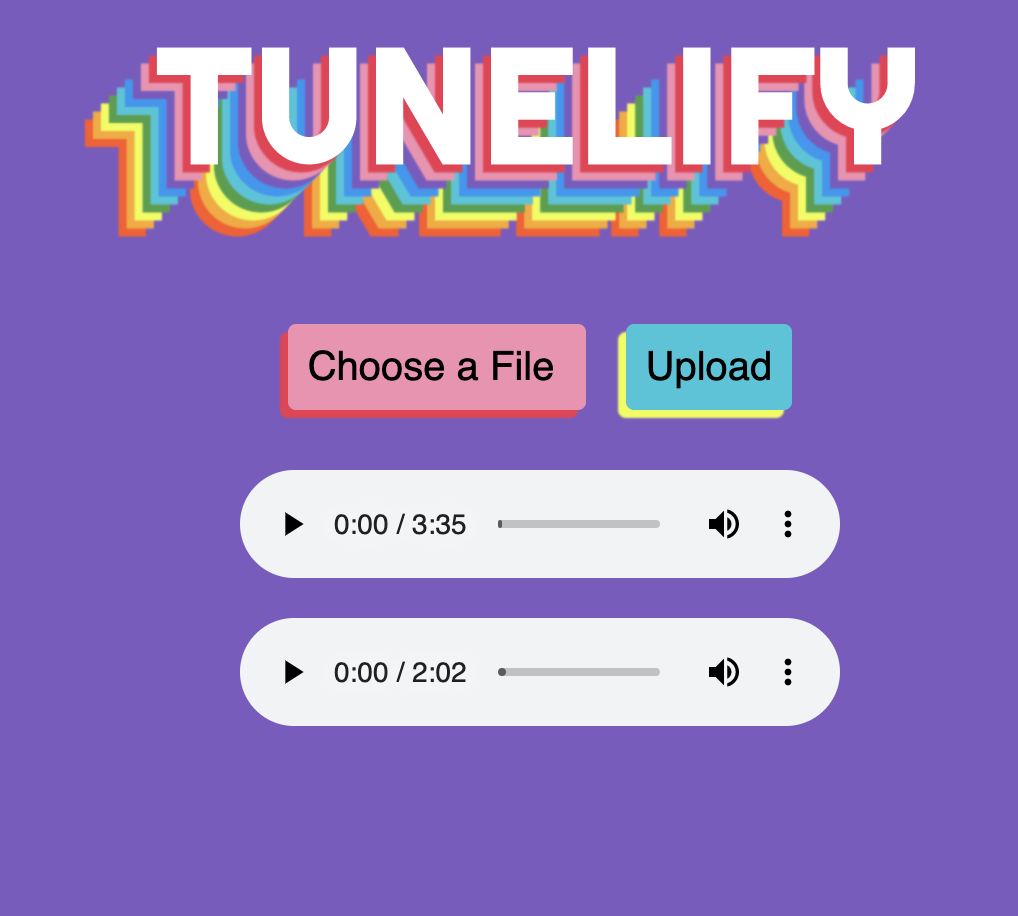
The completed code is on my GitHub if you'd like to take a look! I also have a tutorial here on re-creating the rainbow text 🌈.
Conclusion
I hope this was a fun demo on how to get up and running with Amazon S3 using AWS Amplify. If you'd like to learn more, here is a tutorial on creating a CRUD app with AWS Amplify, here is an extended demo on Amplify, S3, and Svelte, and here is a post on using an existing S3 bucket in AWS Amplify.